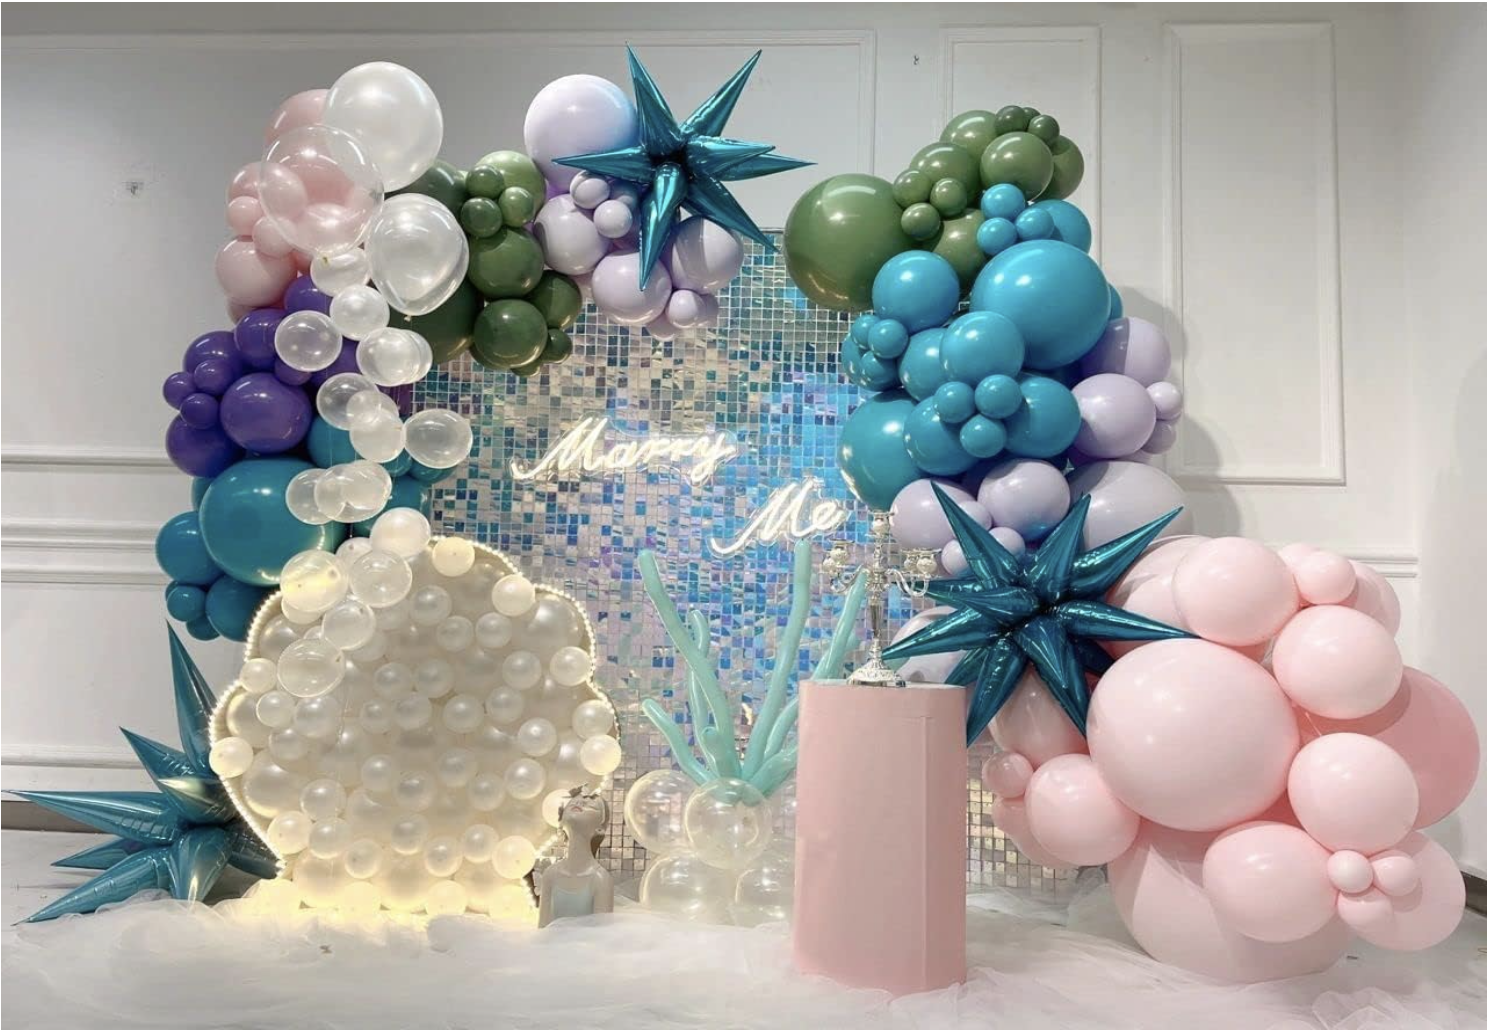
How to make a beautiful balloon arch
supplies:
Ballonnen (in verschillende kleuren en maten) Je kan een kit kopen, hier zitten de verschillende ballonnen, lijm dots, lint, en ballonnen lint bij inbegrepen.
- Ballonnen pomp
- Ballonnen lint en ballonnen lijm dots
- Touw of visdraad
- pair of scissors
- Ballonnen haakje
- option: Flower decorations
Step 1: Preparation
Make sure you have all the necessary materials on hand before you begin. Blow up the balloons using the balloon pump and sort them by color and size. This will make the process easier later on.
Step 2: Make the frame
Determine where you want to place the bow and attach the rope or fishing line at the desired height. This will serve as the frame for your bow. Make sure the rope or fishing line is securely attached, for example to posts, walls or balloon columns.
Step 3: Attach the balloons in the balloon ribbon
Attach the balloons in the balloon ribbon that is included with the kit or that you ordered separately. This ribbon has small holes where you can insert the balloons. Make sure the balloons are evenly spaced along the length of the balloon ribbon.
Step 4: Start inflating and attaching the balloons
Start blowing up the balloons in different sizes and colors. Don't inflate them too big, so you have enough space to attach them to the balloon ribbon. Tie the balloons closed and insert them into the holes of the balloon ribbon. Make sure to tie the balloons tightly so they don't come loose.
Step 5: Create a layered effect
To create a layered effect, you can alternate balloons of different sizes and colors. Experiment with different patterns and color combinations to create a unique and vibrant bow.
Step 6: Fill the entire arch
Continue inflating and attaching balloons until the entire arch is filled. Make sure there are no empty spaces and the balloons are securely attached. Do you have cavities? Then fill it with extra balloons, choose the small balloons 5 latex. You can attach it with elastic or balloon glue dots. Looking for tips? View our tiktok account.
Step 7: Add Additional Decorations (Optional)
If you want, you can add extra decorations to your balloon arch. Think ribbons, flowers, greenery or other decorative elements that match the theme of your event.
Step 8: Attach the arch to the desired location
Once your arch is ready, you can mount it in the desired location. Use the balloon hook and an elastic or modeling balloon to hang the balloon. To securely fasten the arch to walls, posts or other stable surfaces. Tips can be found on our tiktok account.
Conclusion:
With this step-by-step guide you can easily make your own beautiful balloon arch. All you need are the right materials, patience and creativity. Let your imagination run wild and create an impressive arch that draws attention and takes your event to the next level.
Have fun making your own balloon arch!


